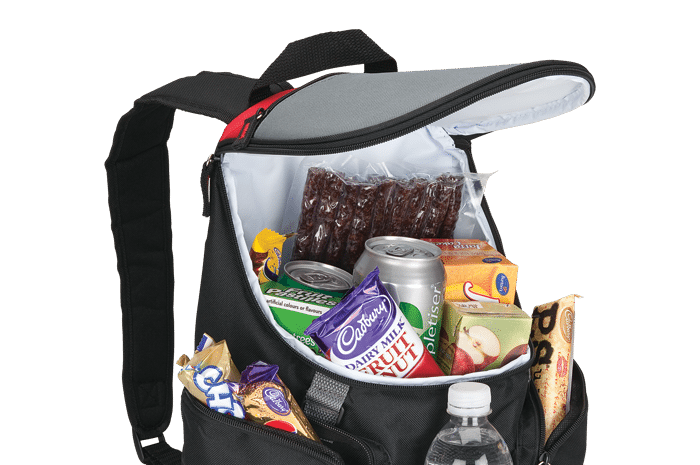
What’s better than an ice cold beverage after a long, hot trek down the trail? The downside of that is no one wants to lug a heavy, bulky cooler around in order to keep those beverages on ice. Take heart, hikers. With a few inexpensive items, you can build a cooler for your backpack that is lightweight and portable.
What you’ll need:
- duct tape
- scissors
- 2 thermal bags (sold in most grocery stores)
- mylar emergency blanket
- cold packs
Making the inner bag
Cut the top handle off one thermal bag, then cut it in half vertically. Tape the cut side of one of the halves of the bag shut, leaving the top open. Tuck this inside the other half of the bag and tape the long side closed. Looking at the top of your taped together bag, you will see several layers. Divide them into two bunches and tape the top of each bunch closed, leaving an open center with taped layers on either side. This bag will hold your drinks or food items.
Adding a second layer
Take the second thermal bag and cut about 4 inches off the top. Tape that shut, and then cut open the side of the bag. This bag will hold the cold packs.
The outside layer
Take the mylar blanket, fold it half once vertically, then once in half horizontally. Tape all the ends shut. Now it’s time to pack!
Place your beverages and/or food items inside the first bag. Put the cold packs into the second bag, then slide the first bag into the second one, surrounding it with the cold packs. Wrap the whole thing in the mylar blanket and tape it shut. That’s it! The lightness of the mylar adds virtually no additional weight to this pack, making it much easier to tote than a hard-sided cooler. It takes just minutes to build a cooler for your backpack, one with plenty of insulating power and very little weight.
Featured Image from Josiah Weiss/Unsplash


