Camping in the snow can be a refreshing, thrilling experience. A blazing campfire can make a cold camp even cozier. In addition, if a stove refuses to work or there is no means of heat, a fire is not only welcome, but can become lifesaving. Building a fire in snowy weather can be challenging, but it’s not impossible when the correct steps are taken. So without further ado, here is Sunny Sport’s guide on How to Build a Campfire in Snowy Conditions.
Before beginning to build a fire, it’s important to find the right type of wood to burn. In order to burn properly, wood should be dry or nearly dry. Try to find branches that are lying in the open. Wood that’s buried under a thin layer of snow may also be dry enough. To make sure the wood is dry, bend the branch in half. If it cracks, it’s likely dry enough to burn. The only exception to this rule is if it rained earlier, in which case the cracking noise could be ice. If you have a hatchet, you can chop smaller pieces from larger sections of wood, as 3 sizes of wood will be instrumental in building a steady, long lasting campfire. If you don’t, just collect pieces of wood in the form of twigs, bigger branches, and larger hunks of wood.
Try to clear away the snow at the campfire location. If it’s too deep or too icy, step on it, pressing it down as much as possible. Build a flat layer of larger branches or logs that the campfire can rest on away from the snow. Forming a pit in the snow or at least building a wall around the fire site will help immensely in protecting your fire from fierce winds; the heat from the fire will glaze the walls to make them even sturdier.
Begin building the fire by placing small twigs in a roughly pyramid shaped pile, and place some tinder inside and on top of these twigs. Tinder is the fire starter. This should be material that will burn easily and for a sufficient amount of time to get the bigger branches burning steadily. You can find tinder in your natural environment in the way of pine needles and dry grasses, but you can also make your own tinder at home using a variety of household materials, like dryer lint, wax, citrus peels, and cardboard, just to name a few.
After you’ve arranged your tinder, light it up. The easiest way to do this is to use matches or a lighter, or even handier, a fire starter that’s specifically designed for lighting fires in a variety of weather conditions. If for some reason you’re lacking any of these tools, you can still build a fire with a little ingenuity and elbow grease. An eyeglass lens, or even a clear bottle of water can be used to focus a beam of light onto the tinder, which will focus heat energy on the tinder to ignite it. A clear piece of ice, roughly circular with a thick middle and thinner edges, can be used in the same way.
As the fire grows, slowly add pieces of wood. Start with small pieces before working up to larger ones. Make sure there is plenty of air flow so the fire doesn’t go out, and keep attending to it until you are sure it is burning hot enough to sustain itself until you need to add more wood. Although snow is inherently wet, never leave a fire or coals to burn when you leave the campsite. Practice responsible outdoorsmanship and put out that fire before you go!
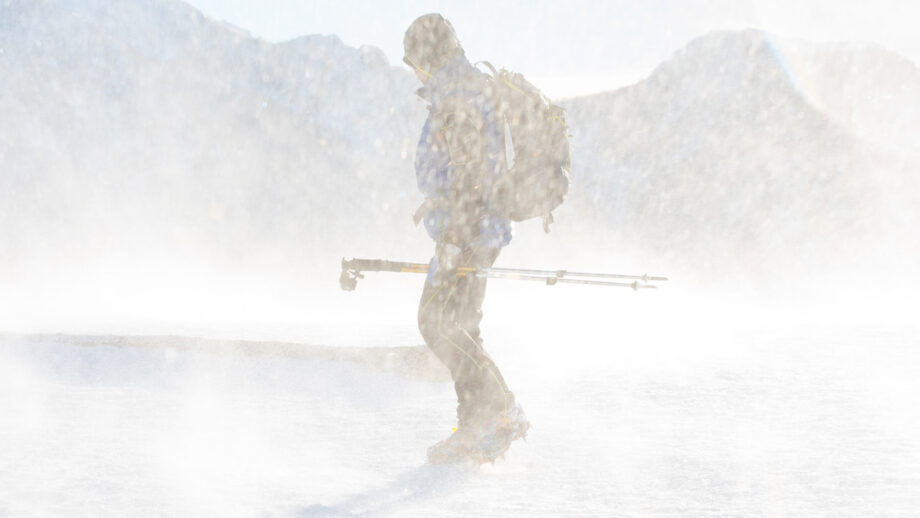
Featured Image from Courtnie Tosana/Usnplash